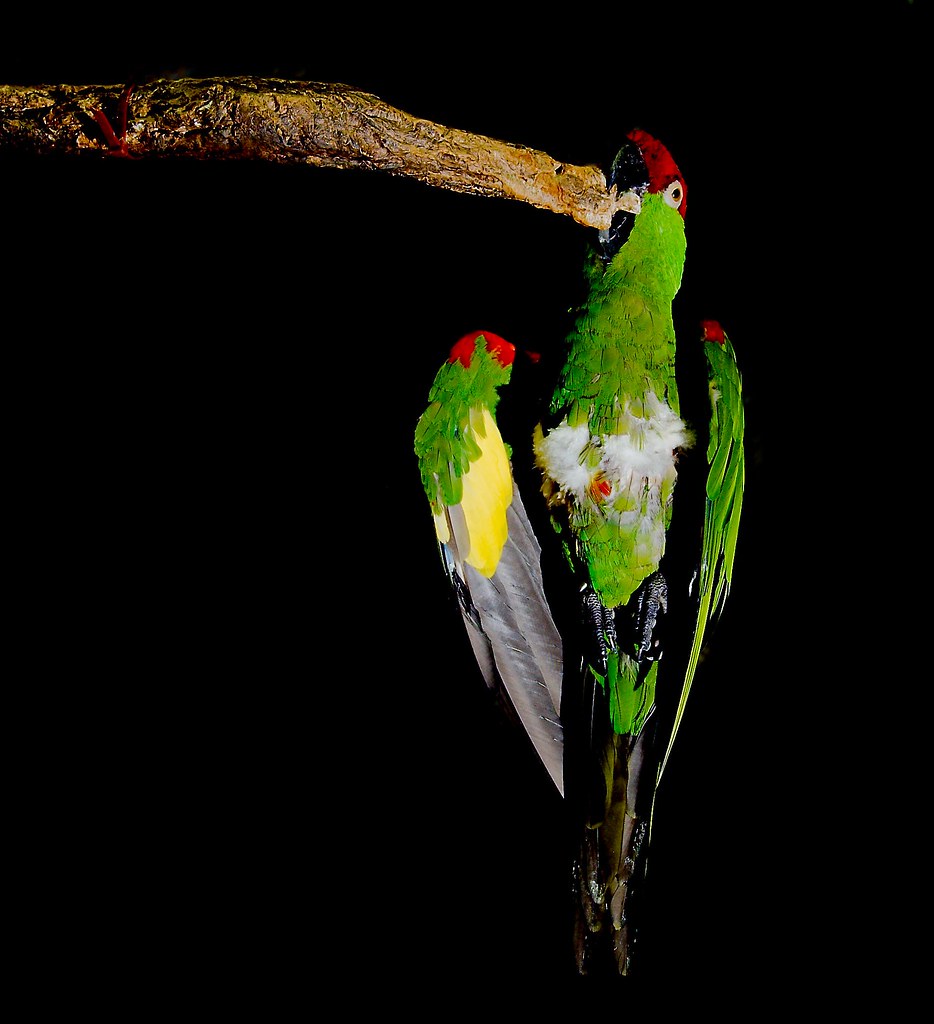
You can tell Autumn is on the way when the parrots start to change their colours.
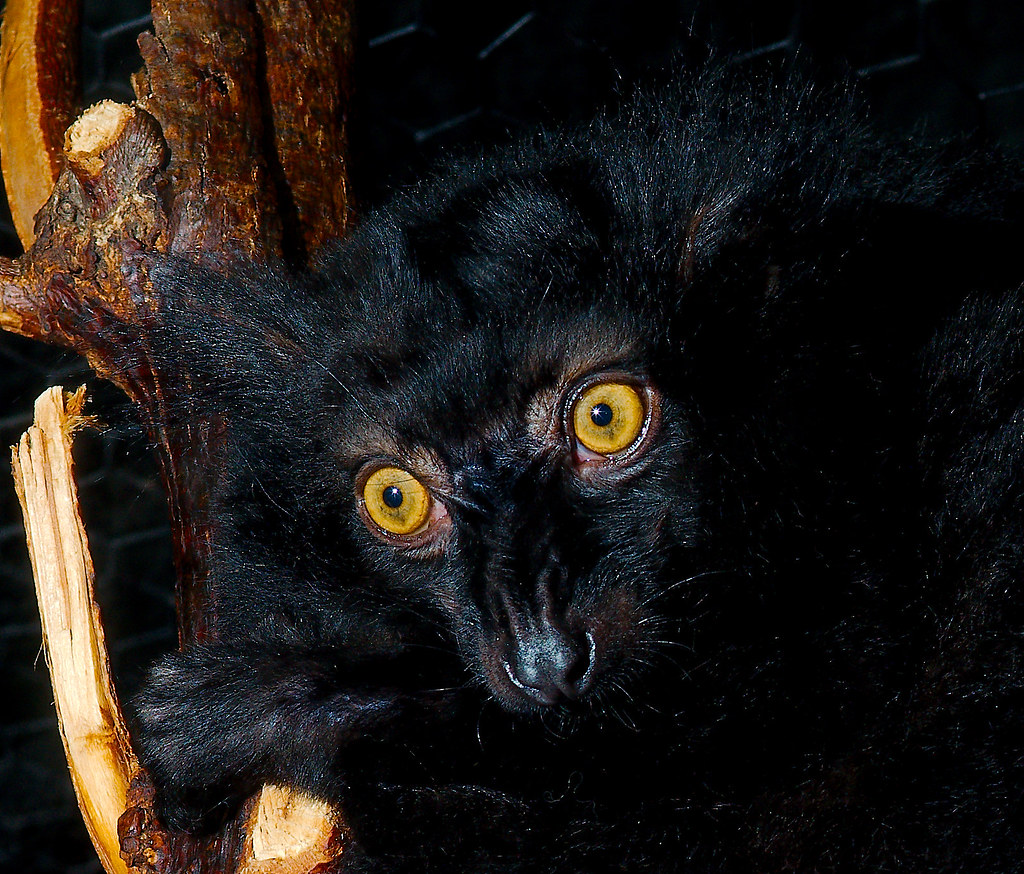
Black Lemur (Eulemur macaco)
Malagasy Giant Chameleon (Furcifer oustaleti)
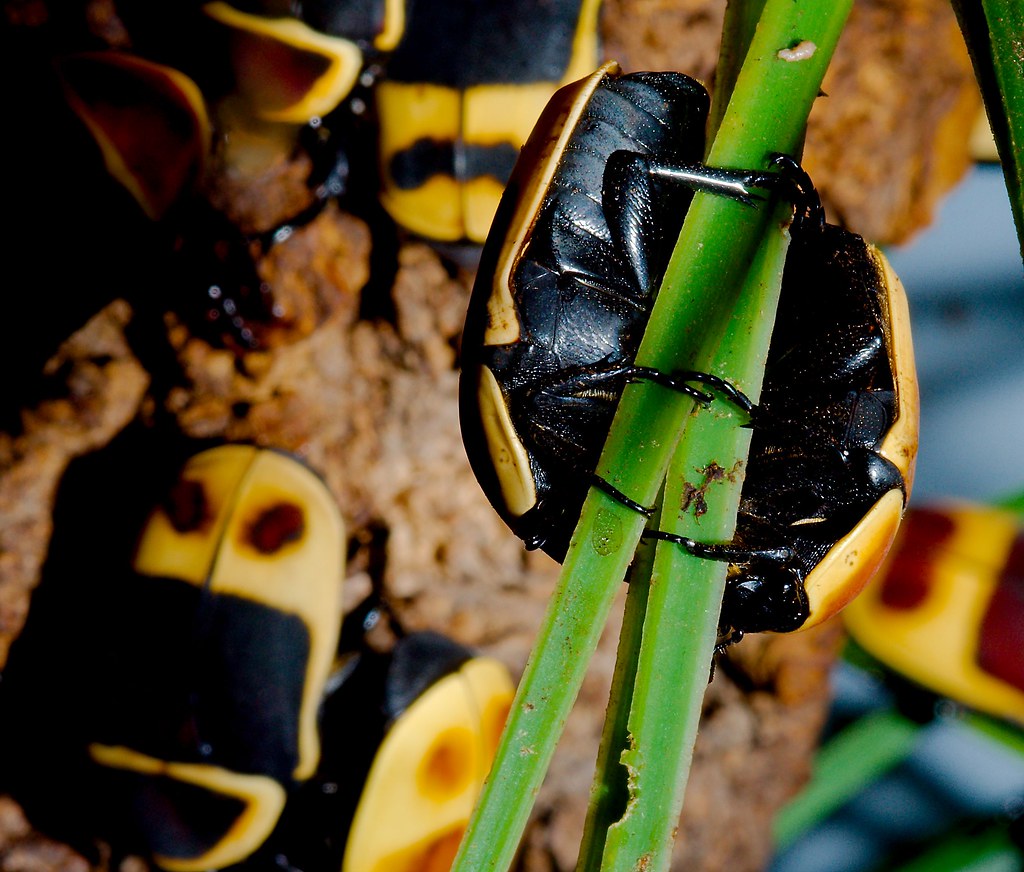
Taxicab Beetle (Pachnoda peregrina)
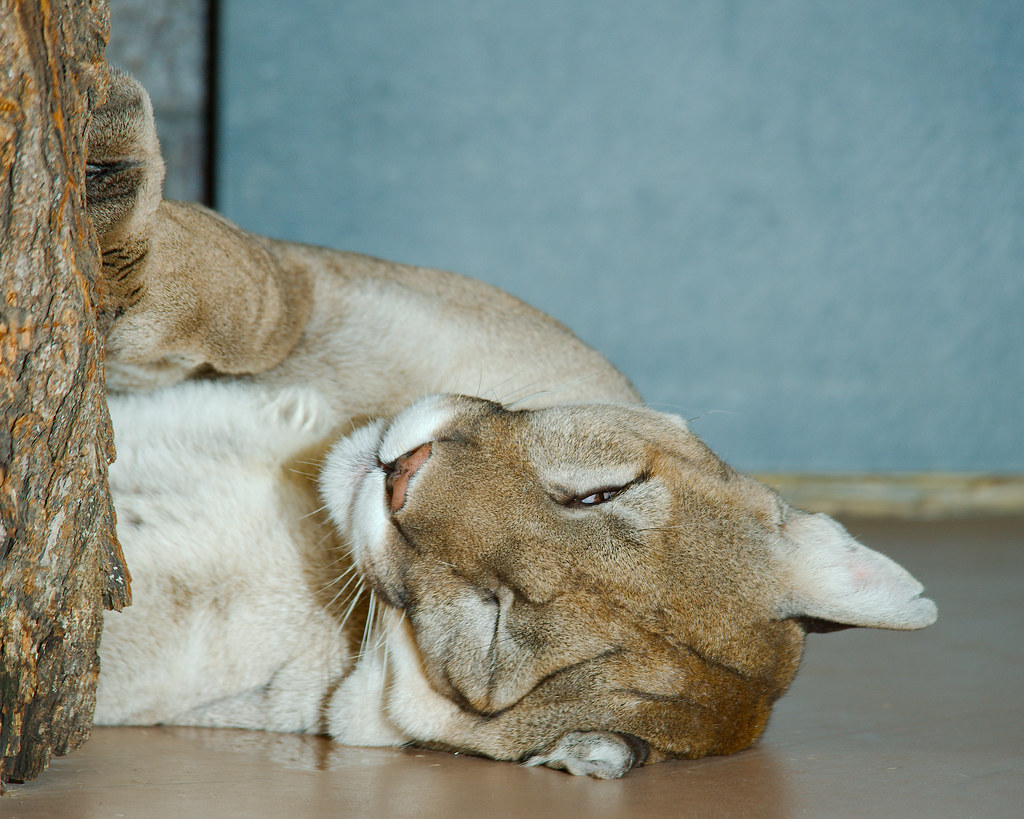
Cougar (Puma concolor)
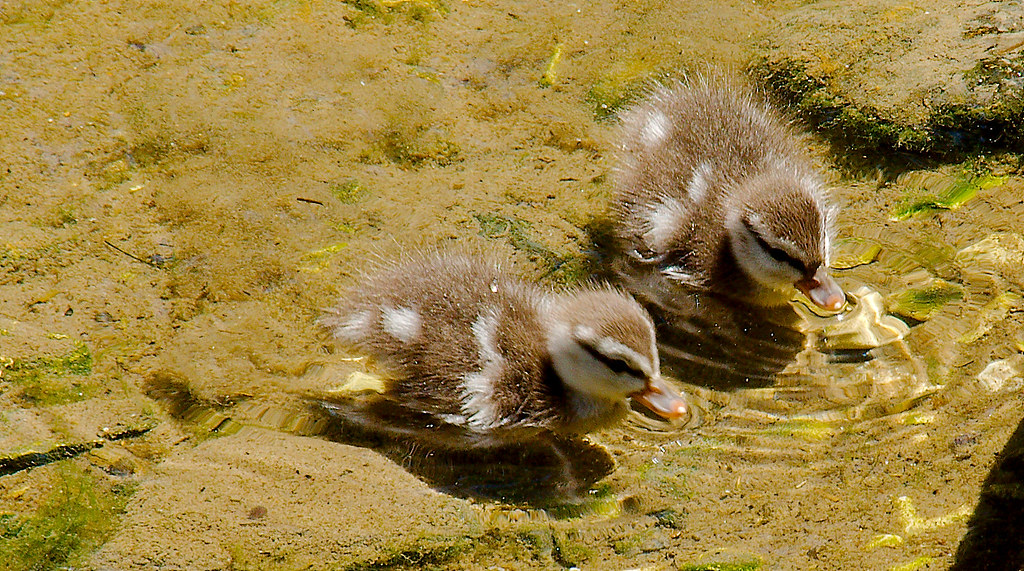
Ducklings
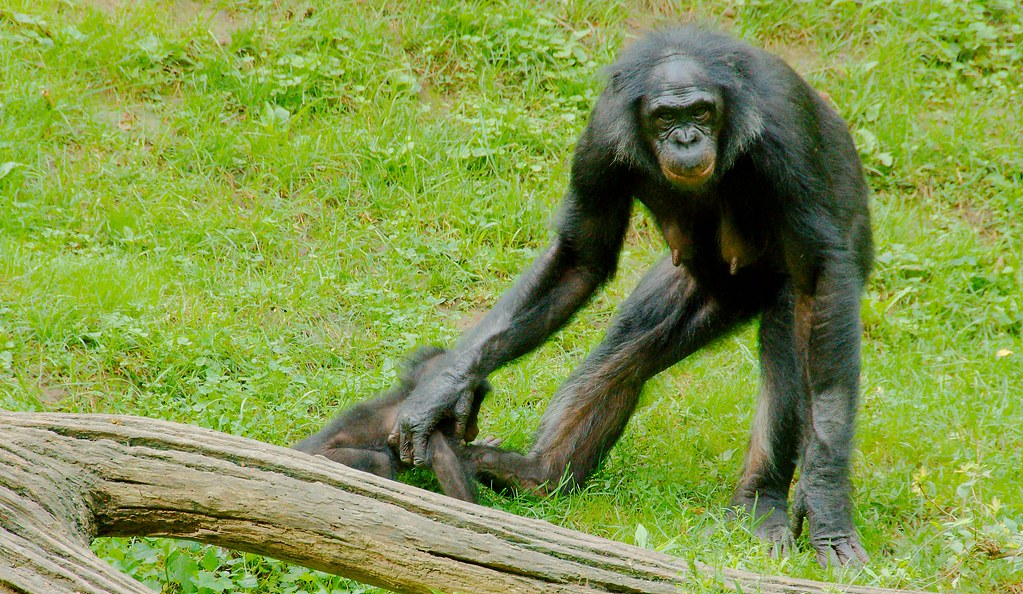
Chimpanzee
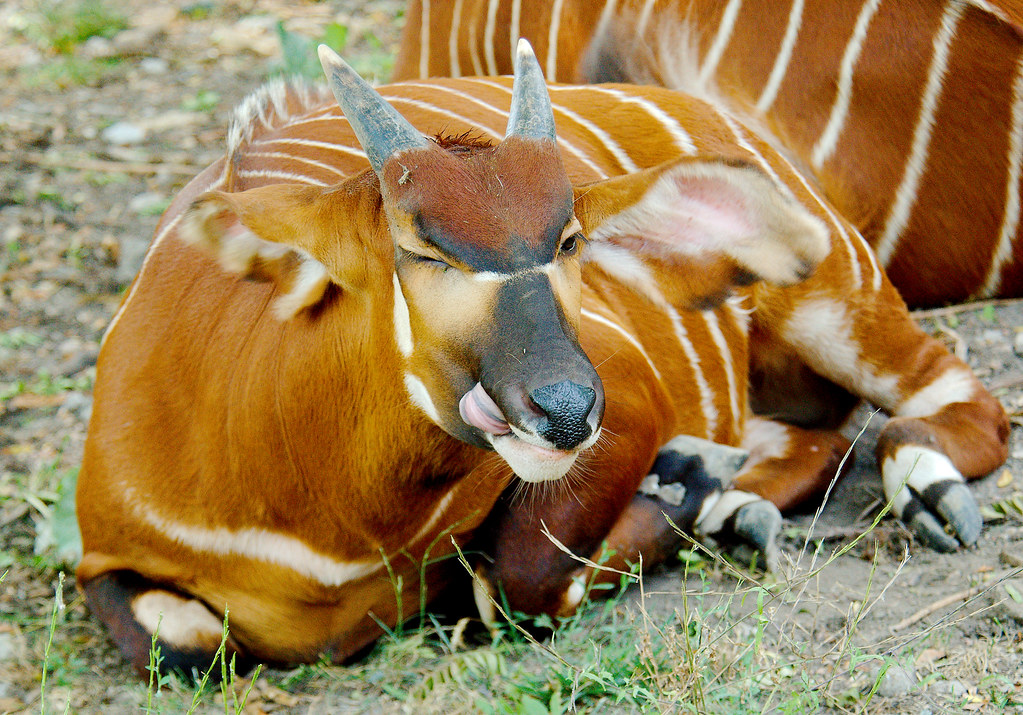
Bongo (Tragelaphus eurycerus)
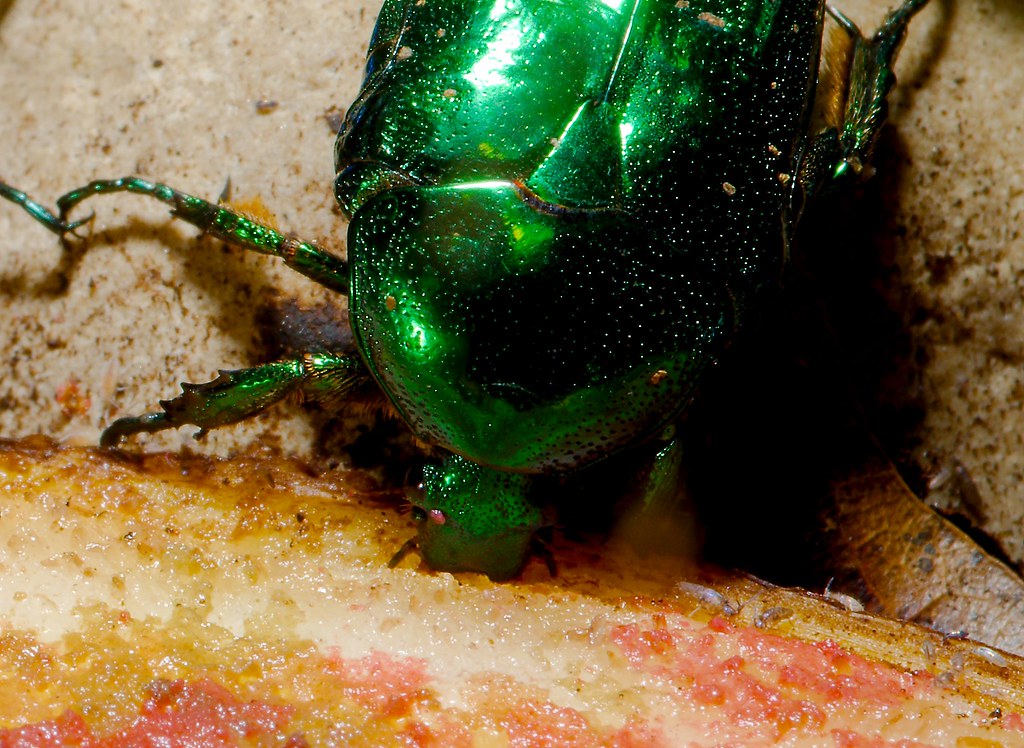
Tin Foil Beetle (Protaetia lewisi)
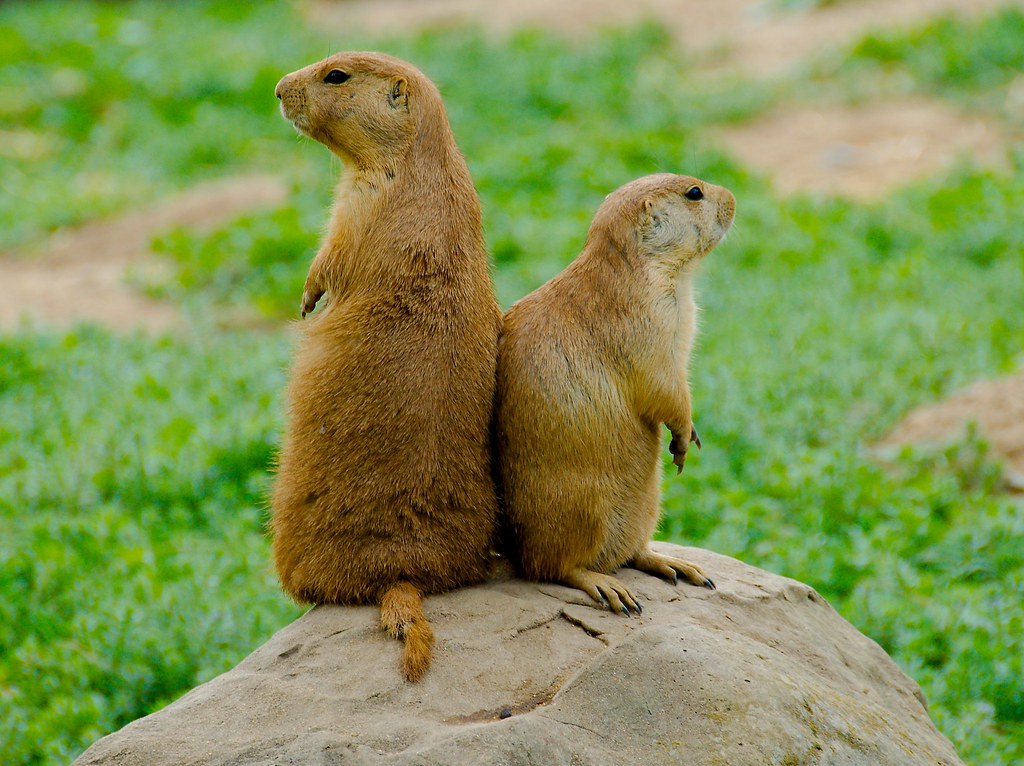
Prairie Dogs performing Much Ado About Nothing
Sumatran Rhinoceros (Dicerorhinus sumatrensis)
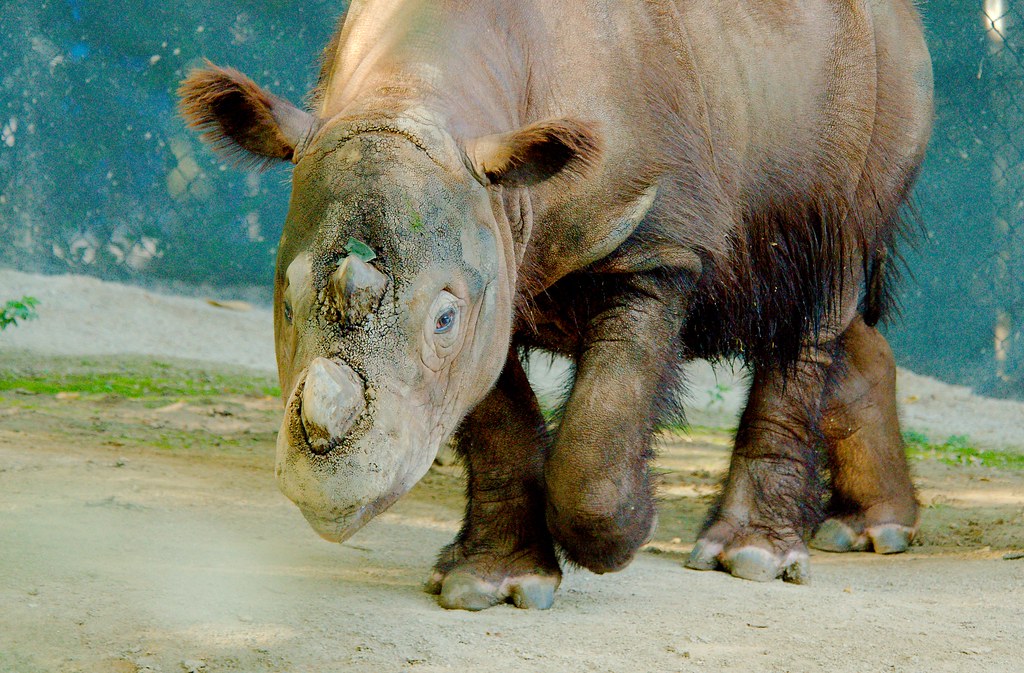
There are fewer than 100 Sumatran rhinoceroses in the world. All but one of them are in Sumatra. This one is in the Cincinnati zoo. That should seem weird to you.
You know what else is weird? Only two Sumatran rhinoceroses have been born in the last fifteen years. You know where? The Cincinnati zoo.
That’s why it’s sometimes better to keep the animals in captivity. Not always, of course, but in this case, yes. Without a doubt.
Bee
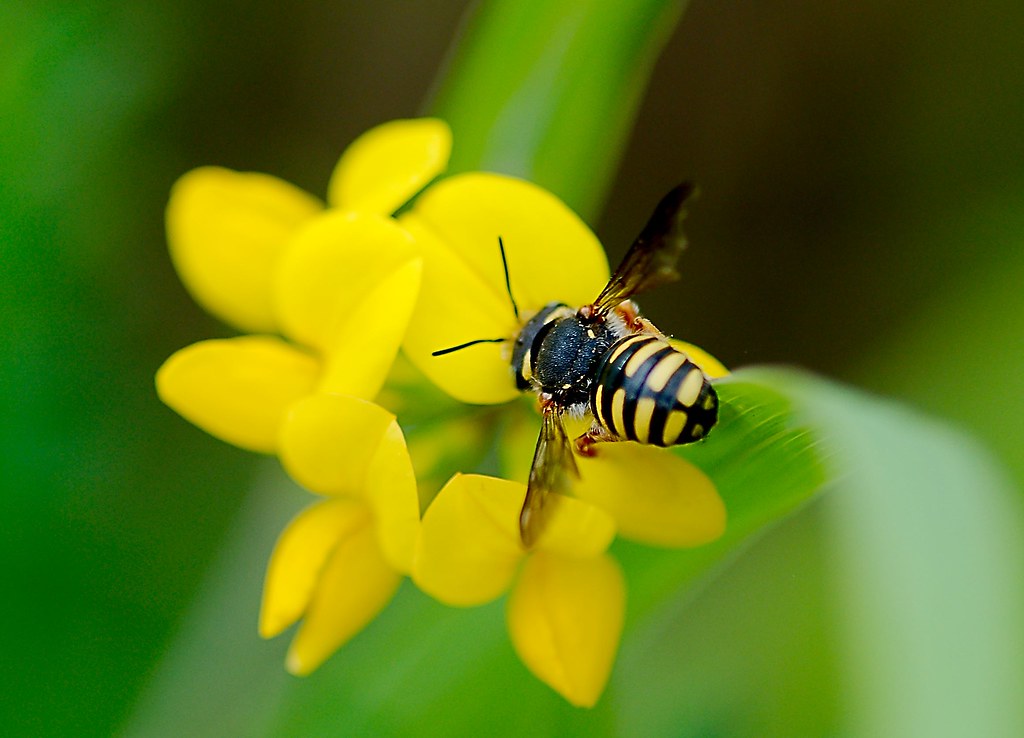
In nature, yellow and black stripes mean “Warning! Dangerous!”. In the human world, it means “Welcome to Schiedam, Holland”.
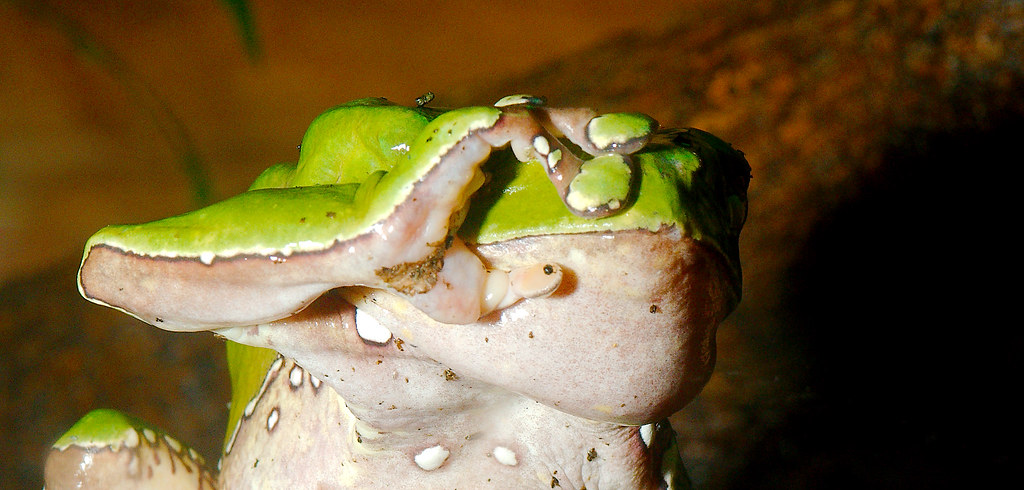
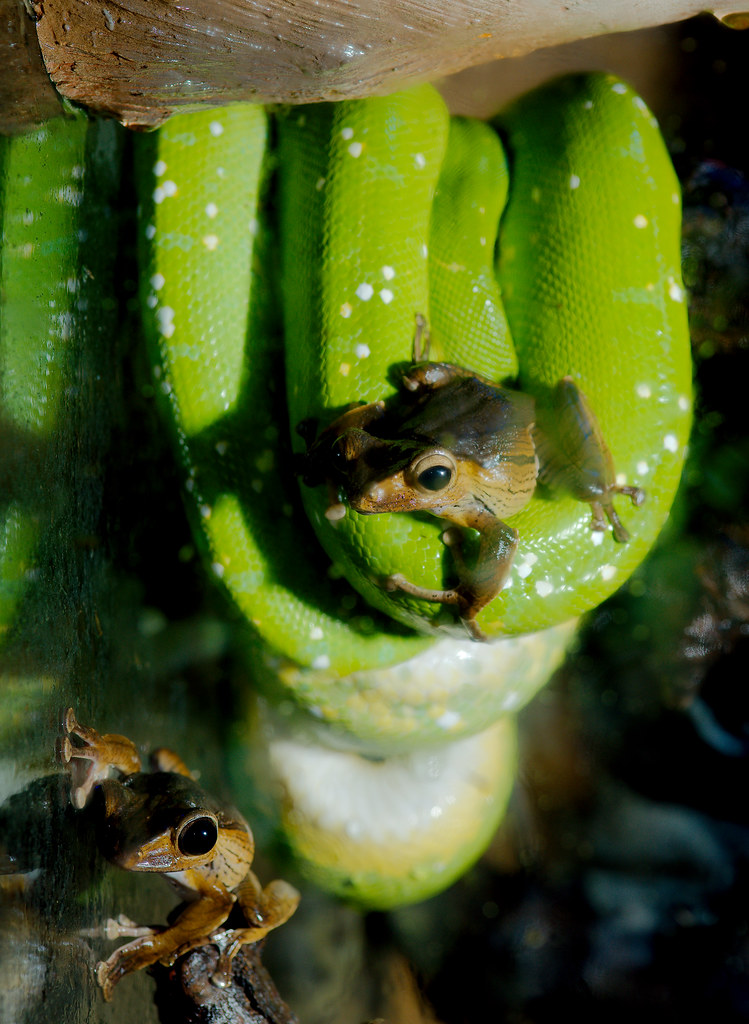
Green Tree Python (Morelia viridis) and Borneo Eared Frog (Polypedates otilophus)
Potto (Perodictus potto)
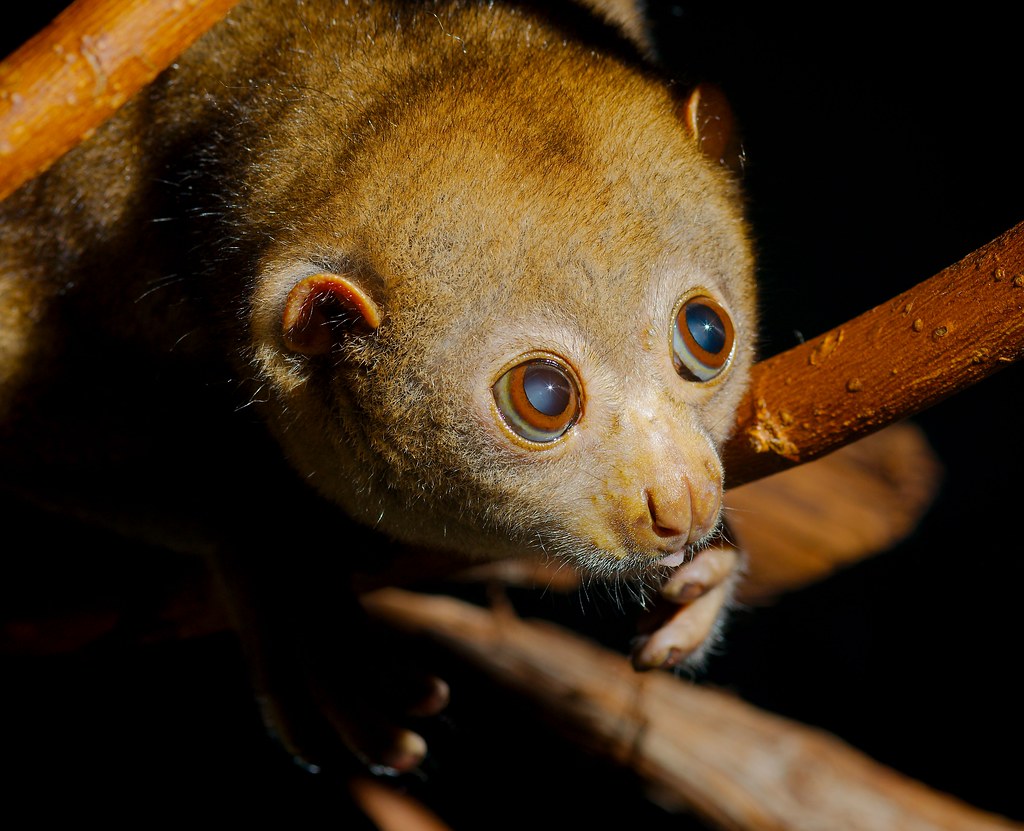
Taking photos of nocturnal animals is tricky. First of all, it’s hard to focus in the dark. Second, if they’re adapted to the dark, it’s somewhat cruel to hit them with a flurry of bright flashes. Now, a lot of zoo animals are used to that, because the average zoo attendee isn’t going to have the first clue how to manage their flash power. Still, I think it’s best to minimize impact where you can.
To get this shot (and shots like it), you need an animal that doesn’t move quickly. Slow movers, like this potto, are best, but even moderate movers work well. Then you set the camera to as wide an aperture as you can get away with. I wanted the eye, ear and nose in focus, so I chose 6.7. I could have gone to 8, which is more common for this sort of work, but I’d have to boost the flash a lot and I wasn’t comfortable with that.
Then, I set the camera on the tripod and do a basic focus. This will not be ideal, but it’ll be close enough for the next step. Then, you can figure out where you want the light to come from. I wanted it up and to the right, as that is a pretty classic position and won’t look weird (weird photos will come later). Then set the flash to its lowest power and take a shot. This will tell you how much brighter you need *OR* how much to boost the ISO. If you increase the ISO setting on the camera, you’ll get more noise but you need less light. On mine, any shot between 100 and 400 ISO looks about the same, so that’s the range I work in here. Once ISO is as high as you’re comfortable, you boost the flash power until the photo is balanced enough. On modern cameras, you can under-expose a bit and fix that in post. This gets you the bare minimum light level you need, maximizing kindness to the animal while still getting the shot.
(Some may argue that it’s unkind to take a photo at all. I can understand that point, but really, without photos, people don’t know what they’re protecting, so I think it’s a net gain.)
Now you need to handle focus. Set a pocket flashlight and set it to as wide a beam as possible. That way, you can get just the edge of the beam on the animal. This slight increase in light can be set so it never touches the animal’s eyes but provides enough for autofocus to lock on. Then you can lock focus, move the light away quickly and take the photo with flash. The slower the animal is, the more likely it is to remain in focus during this time. Using a remote cord release in the hand holding the flash unit can help maximize your success … and make you look really weird to the other zoo people.
One word of caution. Most zookeepers are very understanding when you explain what you’re doing and why, but I am very careful never to use the flashlight trick when kids are around. They’re unlikely to understand the care involved and no one wants them to think that shining flashlights into the exhibits is a good idea.
And now you know.
